
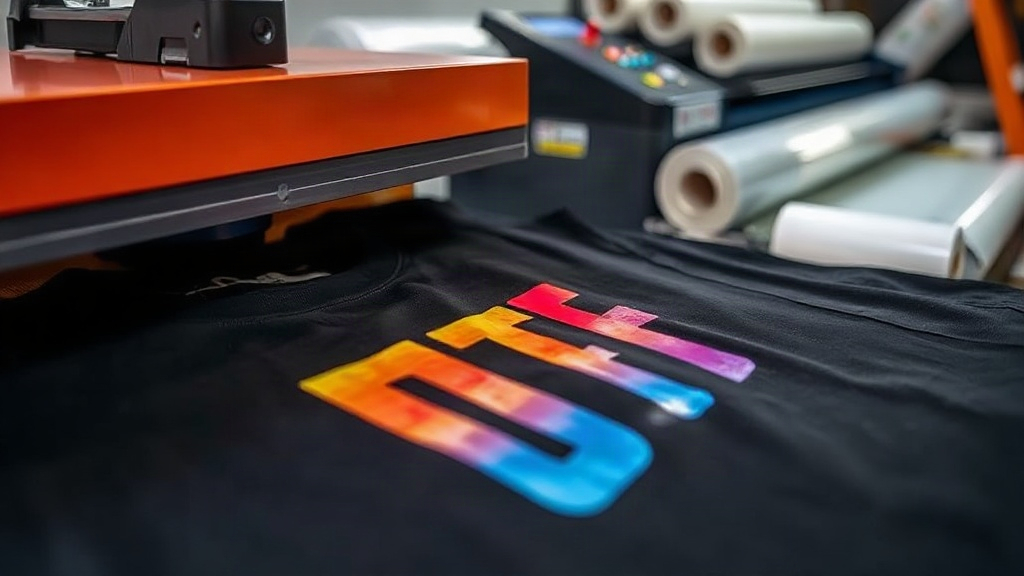
If you've been exploring custom apparel printing, you've likely heard about DTF transfers. This technology is changing how small businesses and hobbyists approach decorated garments. Unlike traditional methods that require specific fabrics or extensive setup, DTF transfers offer a versatile, cost-effective solution. In this guide, I'll walk you through the entire process, sharing insights from my own experience with DTF printing. Whether you're a seasoned screen printer or just starting out, you'll find actionable tips to achieve professional results.
What Are DTF Transfers?
DTF stands for Direct to Film. It's a printing method where your design is printed onto a special PET film using water-based inks, then coated with a hot-melt adhesive powder. Once the powder is cured, the transfer is ready to be applied to fabric using a heat press. The magic of DTF transfers lies in their ability to bond with a wide range of materials, including cotton, polyester, blends, and even some synthetic fabrics like nylon. This versatility makes them a favorite for printing on items that are tricky with other methods.
Why Choose DTF Transfers?
There are several compelling reasons to consider DTF transfers for your printing needs. First, they don't require weeding or masking, which saves a tremendous amount of time, especially for intricate designs. Second, the color vibrancy is exceptional; DTF prints can reproduce photographic images with stunning detail. Third, they are durable and stretchable, meaning they hold up well on activewear and items that undergo frequent washing. Finally, the cost per print is relatively low, making them accessible for small businesses and one-off projects.
The DTF Transfer Process Step by Step
Understanding the workflow helps you avoid common pitfalls. Here's a breakdown of each stage, from digital file to finished garment.
1. Design Preparation
Start with a high-resolution image, ideally 300 DPI at the final print size. Remove any background if you want a transparent look. Remember that DTF prints are opaque, so white ink will be laid down as a base. Use design software like Photoshop or Illustrator to adjust colors; keep in mind that the final output may appear slightly different due to the printing process. I always recommend printing a small test piece before committing to a large run.
2. Printing
A DTF printer uses CMYK plus white ink. The white ink is printed first, followed by the colors. This layering ensures that the design pops on dark fabrics. The printer deposits ink onto a PET film. It's crucial to use quality film and inks to prevent clogging and ensure proper adhesion. After printing, the film is dusted with adhesive powder. The excess powder is shaken off, and the film is cured in an oven or with a heat gun until the powder melts and forms a smooth layer.
3. Transfer Application
Now comes the fun part: pressing the transfer onto your garment. Set your heat press to around 300°F to 325°F (150°C to 160°C) with medium pressure. Pre-press the garment for a few seconds to remove moisture. Place the transfer on the fabric with the printed side up, and press for 10-15 seconds. Let it cool completely before peeling off the film. This cold peel ensures the design stays intact and prevents distortion.
Common Challenges and How to Overcome Them
Even with experience, you might run into issues. Here are some common problems and their solutions.
- Transfer not adhering: Increase pressure or temperature, and ensure the garment is flat. Also, check that the adhesive powder was properly cured.
- Cracking or fading: This often happens if the transfer is over-pressed or if the garment is washed in hot water. Use cold water and mild detergent, and turn the garment inside out before washing.
- Color shifting: Some fabrics may cause the inks to appear different. Always test on a scrap piece of the same fabric.
DTF Transfers vs. Other Printing Methods
How do DTF transfers stack up against screen printing, DTG, and vinyl? Screen printing is cost-effective for large orders but requires setup and works best on flat fabrics. DTG is great for cotton but struggles with polyester. Vinyl is durable but limited in color and detail. DTF combines the best of all: no setup fees, works on many fabrics, and handles complex designs. For small businesses offering personalized products, DTF is a game-changer.
Tips for Success with DTF Transfers
From my own experience, here are a few nuggets that can save you time and frustration.
- Store unused transfers in a cool, dry place away from direct sunlight to prevent premature curing.
- Use a Teflon sheet or parchment paper over the transfer during pressing to protect your heat press.
- Invest in a good heat press with accurate temperature control; fluctuations can ruin transfers.
- Keep a log of your settings for different fabrics; this becomes invaluable as you take on varied projects.
Frequently Asked Questions About DTF Transfers
Can DTF transfers be applied to dark colors?
Yes, absolutely. The white ink base ensures that colors remain vibrant on dark garments. Just make sure your design has enough contrast.
How long do DTF transfers last?
With proper application and care, DTF transfers can last as long as the garment itself. They withstand dozens of washes without significant fading or cracking.
Do I need a special printer for DTF?
You can convert certain inkjet printers to DTF, but dedicated DTF printers are recommended for consistent results. They handle the white ink and film feeding more reliably.
What fabrics work best with DTF?
DTF works on cotton, polyester, blends, and even some nylons. It's not ideal for materials that can't withstand heat, like certain synthetics or delicate fabrics.
Is DTF transfers cost-effective for small orders?
Yes, because there's no minimum order and no setup fees, DTF is very cost-effective for small batches and one-offs.
Embracing DTF transfers can open up new possibilities for your custom apparel business. With a bit of practice and attention to detail, you'll be producing stunning, durable prints that impress your customers. Happy printing!