
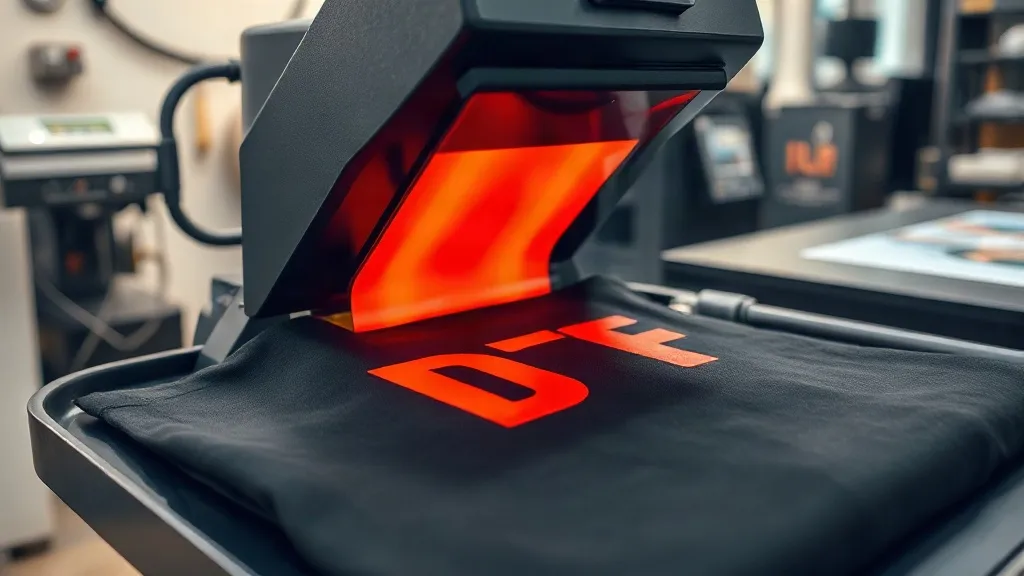
You've dialed in your printer, your color profiles are on point, and your dtf transfers look stunning coming off the film. But then you press them onto a garment and something goes wrong: edges lift, colors look washed out, or the print feels stiff and plasticky. Pressing is the final and often most overlooked step in the DTF process, and it's where many promising prints meet their doom.
In this guide, we'll walk through the most common pressing issues that plague dtf users, from beginners to seasoned pros. You'll learn why they happen, how to diagnose them quickly, and most importantly, how to fix them so your finished products consistently meet your quality standards. Whether you're pressing a single shirt or running a small batch, these troubleshooting tips will save you time, money, and frustration.
Why Pressing Matters More Than You Think
DTF transfers rely on a thermoplastic adhesive powder that melts under heat and pressure to bond with the fabric. Unlike vinyl or screen print, the bond is chemical and mechanical: the powder must fully melt, flow into the fabric fibers, and then cool to lock everything in place. If any part of that sequence is off, the transfer will fail, sometimes immediately, sometimes after a few washes.
Many printers focus heavily on the printing and powdering stages, assuming that pressing is straightforward. But factors like temperature, pressure, time, and even the surface you're pressing on can dramatically affect the outcome. Let's break down the issues one by one.
Issue 1: Transfer Not Adhering (Peeling Edges or Full Lift-Off)
You press the transfer, let it cool, and peel the film only to find that parts of the design stay on the film or lift off the garment. This is the most common complaint, and it usually stems from insufficient heat, pressure, or time.
Diagnosis: Check if the entire design is affected or just edges. If edges peel, it's often a pressure issue. If the whole design lifts, temperature or time is likely too low.
Solutions:
- Increase temperature: Most DTF powders require 300-330°F (150-165°C). Verify with your powder supplier. If you're below 300°F, the powder won't fully melt.
- Adjust pressure: You need medium to firm pressure. If your press has a pressure gauge, aim for 40-60 PSI. For clamshell presses, adjust the knob until you feel resistance when closing.
- Extend time: 10-15 seconds is typical, but thicker fabrics or multiple layers may need 20 seconds. Don't exceed 20 seconds or you risk scorching.
- Pre-press the garment: Moisture is the enemy. Pre-press for 5-10 seconds to remove wrinkles and moisture. This also helps the transfer bond better.
Issue 2: Dull or Faded Colors After Pressing
Your print looks vibrant on the film, but after pressing, the colors appear muted, especially on dark garments. This is often due to insufficient temperature or pressing too long at high heat, which can degrade the inks.
Diagnosis: If colors are uniformly dull, it's likely a temperature issue. If only certain colors fade, it could be ink degradation from excessive heat.
Solutions:
- Verify temperature accuracy: Use an infrared thermometer to check your press platen. Many presses run 10-20°F cooler than the display indicates.
- Use the correct pressing parameters: Stick to the manufacturer's recommendations. For most DTF transfers, 310-320°F for 10-12 seconds is ideal.
- Cool peel: Always let the transfer cool completely before peeling. Peeling hot can cause the ink to stretch and appear faded.
- Avoid over-pressing: Pressing too long or at too high a temperature can cause the white ink layer to yellow or the colors to bleed.
Issue 3: Print Feels Stiff or Rubbery
A stiff, rubbery feel is a sign that the powder layer is too thick or the pressing conditions caused the adhesive to pool on the surface instead of penetrating the fabric.
Diagnosis: Run your fingers over the print. If it feels like a solid plastic sheet, the powder didn't melt into the fabric properly.
Solutions:
- Reduce powder application: Shake off excess powder before curing. A thin, even layer is sufficient. Too much powder creates a thick, stiff layer.
- Increase pressure: Higher pressure helps the melted powder penetrate the fabric fibers. Ensure your press is applying even pressure across the platen.
- Check fabric compatibility: Some tightly woven fabrics (like canvas) resist penetration. For these, use a slightly higher pressure and a longer press time (15 seconds).
- Try a second press: After peeling, press again for 5 seconds with a Teflon sheet or parchment paper. This can help embed the print further.
Issue 4: Transfer Shifts During Pressing
If the transfer moves when you close the press, you'll get a blurred or double image. This is frustrating and wastes materials.
Diagnosis: The transfer wasn't secured properly before pressing.
Solutions:
- Use heat-resistant tape: Secure the transfer with high-temperature tape (like Polyimide tape) on all four sides.
- Pre-press the garment: A flat, dry surface helps the transfer stay in place.
- Lower the press slowly: Slamming the press can create air currents that move the transfer.
- Use a pressing pillow: For irregular areas (like pockets or seams), a pressing pillow provides a stable base.
Issue 5: Ghosting or Residue on the Film
After peeling, you notice a faint image or residue left on the film. This is called ghosting and indicates incomplete transfer.
Diagnosis: The powder didn't fully melt or the pressure was insufficient.
Solutions:
- Increase temperature slightly: Try 5°F higher and monitor.
- Increase pressure: Ensure the press is applying firm, even pressure. Check for worn platens or uneven surfaces.
- Extend time: Add 2-3 seconds to your press time.
- Check powder quality: Old or moisture-exposed powder can cause incomplete melting. Store powder in an airtight container.
Preventive Maintenance and Best Practices
To avoid these issues altogether, establish a consistent pressing routine:
- Calibrate your press regularly: Use a heat gun or thermometer to verify temperature accuracy.
- Keep your platen clean: Residue from previous transfers can affect adhesion and leave marks.
- Use a Teflon sheet: Protects the garment and press, and helps distribute heat evenly.
- Test on scrap fabric: Before pressing a final garment, do a test press on similar fabric to dial in settings.
- Document your settings: Keep a log of temperature, pressure, and time for each fabric type.
Remember, dtf transfers near me searches often lead people to local shops, but if you're doing it yourself, mastering these pressing techniques is key to professional results. For high-quality supplies, check out the selection at dtf transfers near me to ensure you're starting with reliable materials.
Frequently Asked Questions
What temperature should I use for DTF transfers?
Most DTF transfers press best at 310-320°F (155-160°C). However, always check the specifications provided by your transfer supplier, as formulations can vary.
Can I use a home iron for DTF transfers?
While possible, it's not recommended. Home irons don't provide consistent pressure or temperature, leading to poor adhesion and durability. A heat press is essential for professional results.
How do I fix a transfer that didn't adhere properly?
If the transfer is still on the film, you can try re-pressing at a slightly higher temperature and pressure for 5-10 seconds. If it's already partially adhered, cover with a Teflon sheet and press again.
Why does my DTF transfer look cracked after washing?
Cracking usually indicates insufficient pressure or time during pressing, or the garment was washed in hot water. Ensure proper pressing parameters and wash inside out in cold water.
Can I press DTF transfers onto polyester?
Yes, but use lower temperature (around 290-300°F) to avoid dye migration. Pre-press the garment to remove moisture and use a low-melt powder if possible.